Quick Summary
A GoPro captures close, immersive surfing footage from the rider's point of view or from a secure mount on the board. Good results depend on safe placement, the right resolution and frame rate, enough battery and storage, and settings that suit the day's conditions. Simple editing can stabilize, trim, and highlight the strongest moments after a session. Ohana Surf Project uses GoPros and also offers in-water photography and video for surfers who want to stay focused on the ride.
How To Use A GoPro For Unique Surfing Perspectives
Surfing footage has come a long way from a single fixed angle on the beach. Learning how to use a GoPro for unique surfing angles gives you a compact way to capture close-up action without the bulk of a larger camera.
At Ohana Surf Project, we use GoPros to document our surfing lessons in Waikiki. An instructor takes the photos and videos so you don’t have to deal with the whole process. But if you are doing it on your own, start with a secure mount, practical settings, and a setup that never gets in the way of paddling, popping up, or staying aware of the water around you.
How to Use a GoPro for Unique Surfing Angles
A GoPro records the scene in front of its lens, so placement has a major effect on the final perspective. A chest mount can emphasize the rider's point of view and body movement, while a low-profile board mount can show stance, board position, and the wave around you.
Keep the setup compact and secure. Avoid long poles or loose accessories that could become a hazard during a wipeout, and make sure the camera or tether does not interfere with your leash, paddling, or pop-up. Test the mount on land before entering the water. We recommend a board mount.
Check the water-resistance guidance for your specific GoPro and any housing or mount you use. Saltwater is hard on gear, so inspect seals and attachment points before the session and rinse the camera and accessories with fresh water afterward.
Picking the Right Settings Before You Paddle Out
Getting quality footage starts before you ever paddle out. A few settings make a noticeable difference in how the final video looks:
- Resolution: Higher resolution gives you more room to crop and reframe during editing without losing quality
- Frame rate: A higher frame rate helps smooth out fast movement, which comes in handy during quick turns or wipeouts
- Stabilization: Built-in stabilization keeps footage watchable even when the camera moves around on choppy water
- Battery life: Bring a spare battery or check the charge beforehand, since high-resolution recording and stabilization drain power quickly
- Memory: A larger memory card avoids running out of space mid-session, especially with high-resolution footage
Filming Surfing With a Drone for an Aerial View
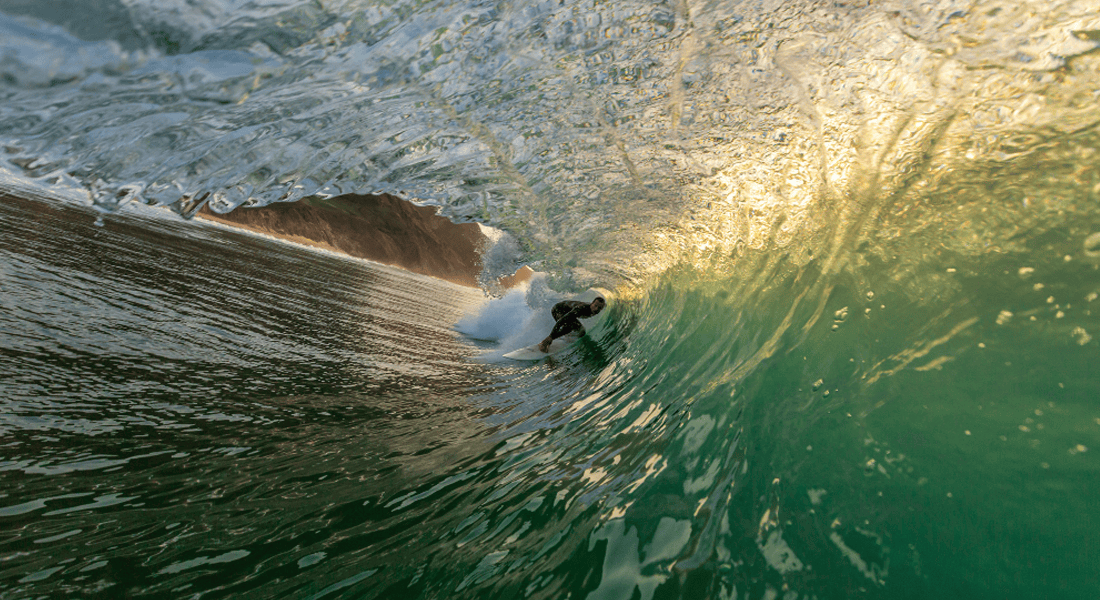
A GoPro captures a session from water level, but a drone adds an entirely different angle from above. Filming surfing with a drone shows the shape of the wave, the lineup, and how a rider moves across the face of the wave in ways that are hard to see from the water.
Flying a drone near the ocean does come with its own considerations. Wind and salt spray affect flight stability, and rules can vary by beach, park, and surrounding airspace. Check current federal and local requirements for the exact location before launching and keep the flight from distracting surfers or other beachgoers.
Conditions and season matter, too. On Oahu, the South Shore, including Waikiki, typically gets its bigger surf in summer, when the North Shore is often much flatter. The North Shore's large-wave season is winter. Choose a filming location and camera setup that match your surfing ability and the conditions that day.
Learn More About Us
Storing and Backing Up Your Footage After a Session
Saltwater and sand make it easy to damage gear, so rinsing the GoPro, housing, and mounts with fresh water right after a session helps protect the gear long term. Transfer footage to a laptop or external drive as soon as possible, since memory cards can corrupt or fill up quickly with high-resolution files.
Keeping a backup copy in cloud storage adds an extra layer of protection in case a device gets lost or damaged. Labeling clips by date and location also makes it easier to find a specific session later, especially once footage starts piling up over a full season of surfing.
Editing GoPro Footage Into Something Worth Sharing
GoPro footage is easier to work with when clips are organized before editing. Start by trimming long paddling sections or missed waves, then select the rides that best show the action, technique, or conditions you want to remember.
Simple edits such as straightening the horizon, applying stabilization when needed, adjusting exposure or color, and using slow motion selectively can make the final video feel more polished. Keep the edit focused on the ride rather than adding effects that make the movement harder to follow.
Reviewing video is useful for more than creating social clips. Surfers can study timing, stance, positioning, and wave selection after a ride. Ohana Surf Project's surf photography and video can also provide a closer look at your session while letting you stay focused on surfing.
Getting Comfortable in the Water First
Filming a session only works well once you're comfortable enough on a board to focus on more than just staying upright. Trying to manage a camera before you've built basic paddling, pop-up, and ocean-awareness skills usually leads to distraction and a harder learning curve.
Private surfing lessons in Waikiki can help you build that foundation with one-on-one coaching, while beginner surf lessons focus on core skills such as paddling, board positioning, wave selection, and standing up. Once those fundamentals feel more natural, adding a camera becomes much less distracting.
Capture Your Waikiki Surf Session
A GoPro and a drone each open up a new way to look back at a surf session, capturing angles a single fixed camera never could. Between the right mount, the right settings, and some time spent editing afterward, footage from the water can turn into something worth watching again and again.
If you already surf independently and want to plan your own session, explore Ohana Surf Project's surfboard rentals in Waikiki. If you would rather focus fully on your technique, book a lesson and ask about photo and video packages so you can leave the camera work to the team.
FAQs
What is the best way to mount a GoPro while surfing?
A chest mount or low-profile board mount can work well, depending on the view you want. Whatever you choose, keep the setup compact, test it before paddling out, and make sure it does not interfere with your leash, paddling, pop-up, or ability to fall safely.
Do I need a special camera housing for surfing?
It depends on the GoPro model, depth, and conditions. Check the manufacturer's water-resistance guidance for your camera and any housing you use, inspect seals before entering the ocean, and rinse the equipment with fresh water after exposure to saltwater.
Is it legal to fly a drone near the beach?
Drone regulations near beaches vary by location, so checking local rules before flying helps avoid any issues. Wind and salt spray can also affect flight stability near the ocean.
Do I need surfing experience before filming a session?
Building basic paddling and pop-up skills first makes filming much easier, since managing a camera while still learning to surf can be distracting. Comfort in the water usually leads to smoother, more watchable footage as well.

OTHER OSP BLOGS
How To Use A GoPro For Unique Surfing Perspectives
Surfing footage has come a long way from a single fixed angle on the beach. Learning how to use a GoPro for unique surfing angles gives you a compact way[...]